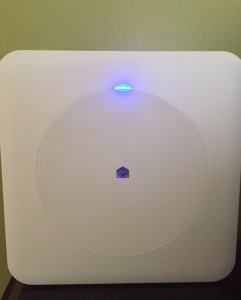
While shopping on Black Friday for my annual $1Home Depot poinsettias I ran across a great deal on the “Wink” home automation hub. Wink was available for only $.99 if you purchased two home automation Products. Conveniently the GE link lightbulbs were only 15 dollars, Just a little bit more than normal LED bulbs. I purchased two of them thinking this had to be the cheapest way to get started with home automation.
The GE lightbulbs look a little unusual. In addition to being a little bit larger than average they are clear at the top and you can see a small circular antenna for radio communication. Unlike some bulbs which have a diffusion layer to soften the bright LEDs, the GE bulbs are clear and can appear a little harsh. The first attempt I made was to take automate the lamp on a coffee table next to my family room couch. I screwed in the bulb, I turned on the light, and opened the wink application. Following the wizard my light was quickly available to turn off and on as well as dim with almost zero effort. The next bulb went in the ceiling over my kitchen sink. I repeated the same process with the same success. The next thing I tried was setting up a light schedule. For my family room lamp I wanted it to come on at dusk and go off at 10 PM in the evening. For the kitchen light I wanted it to come on at the same time and at 10 PM go to a low dimmed mode to function as a”nightlight”in the middle of the night. The obvious downside of this approach is that these are switched elements and so anyone can switch them on or off making them unavailable to your home automation hub to control. You’re probably wondering what the state is after turning it off – it’s like you hope and comes on normally (and reports to the hub it’s in “on” status).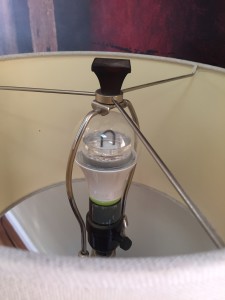
It was nearly Christmas and I decided that my experiment was going well and Santa should bring me some more Wink-supported gadgets. I added a wall switch that would allow me to control all the lights in my living room and the Wink “Spotter” device which claims to detect many things including motion, temperature, humidity, and more.
I started with the Wink Spotter device and immediately ran into several problems. I tried on several times to get it to sync with my Wink hub and consistently got errors. Finally in a completely random effort on a later day it started working. Quickly I noticed the humidity and temperature controls were nowhere near any of the other temperature devices in my home. I have two other thermostats including a Nest thermostat and it reported very low values by comparison. Next I tried the light sensor hoping to trigger my lights aced on the ambient light in the house. While the trigger often noticed a change in light it was easily affected by other lights nearby I really couldn’t find a proper use for this feature. Lastly I tried the motion detector. Like many other Spotter customers I was surprised to find out that it doesn’t detect motion around it but instead detects its own motion. If you were to place the spotter BY a door it would never sense any motion you would have to hang the spotter with a cord ON your doorknob for it to actually detect motion at your door. Let’s just say that wasn’t exactly what I was looking for – but after reviewing the online videos and instructions it’s quite clear the spotter is meant for more unusual use cases. Some examples I found were things like determining when your washer is done or when the kids are jumping on the bed. � Given in accuracy of the sensors and the unusual implementation of a motion detector I quickly returned this Christmas gift to the store.
Thankfully the new quirky door sensors (Tripper) had just hit the market. I picked up two of the sensors for $40 on Amazon. So far sensors have worked very well however they eventually would lose contact with the hub and the only way to correct the problem was to restart the hub. I’m happy to report that the latest upgrade to my wink hub seems to have resolved this problem. These were great for automatically turning off or on the lights based on door action and keeping a log of entry. I now know exactly at what time my kids are coming in and leaving (don’t even try to lie to me)!
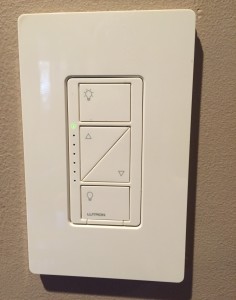 The Levitron wall switch is ideal and one of the best investments you can make with your Wink home automation hub if you have a lot of ceiling lighting. It was crazy simple to install, worked right out of the gate in the wink application, and provides a very nice LED friendly dimmable solution. Since there are no actual physical switches you don’t have to worry about your family turning it off and no longer being able to control the lights. At $50 it’s a little too expensive for me to switch all my lights to, but I hope to upgrade 1-2 switches a year.
I next decided to try to connect my Nest thermostat to my Wink hub. This was very easy to do and it seems the main benefit is you can make changes to your temperature from inside the wink application without having to launch another application. In addition, since Wink has geofencing you can add robots� to increase or decrease your temperature when you arrive or leave home – this is not a feature that Nest supports natively.
The last device I decided to try was one that isn’t certified yet with the Wink Hub (however it is a Z–wave device and generally supported by the Wink). I purchased the Aeon Labs appliance switch the which is essentially a small extension cord whose power can be turned on and off like a switch from the lights interface on your Wink application. I bought it on Amazon because I knew they have an easy return policy. Like every other device I hooked up this one worked instantly and was controlling it in under a minute. My only complaint is that it shows up under lights, I’m using it to control a small space heater in my office. The device also has the ability to report energy consumption but the Wink doesn’t support that either. For $20 it’s a great way to control just about anything and I’m very pleased with the product.
So it’s all rosy with the Wink right? Well not exactly. I’m more than a few occasions I’ve had to restart the hub because it stopped working completely. Since the last update I haven’t had this problem so I’m hoping it was a momentary software glitch. While the Wink Hub should support many Z-wave devices it doesn’t have special support for those devices and so you do lose some of the features. I also wish there was better support for IFTTT so that I could create more interesting automation recipes. The tool does have their own”robots” that are pretty powerful but they are limited in what they can interact with and notify. Wink looks like they have great support but the couple times I called the lines were pretty backed up. The built-in video tutorials in the app are very straightforward and well done. Given all this I would consider the product more of a “beta” setup right now.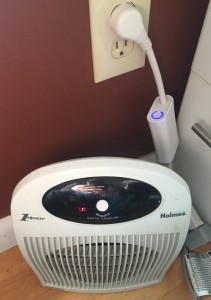
If you can pickup the Wink hub on a deal give it a try. Compared to some solutions like the Phillips (and others) you don’t have to spend $150 just to get started. The robots make it easy to create simple automations and the supported switches, door triggers, etc. all are working pretty well for me.

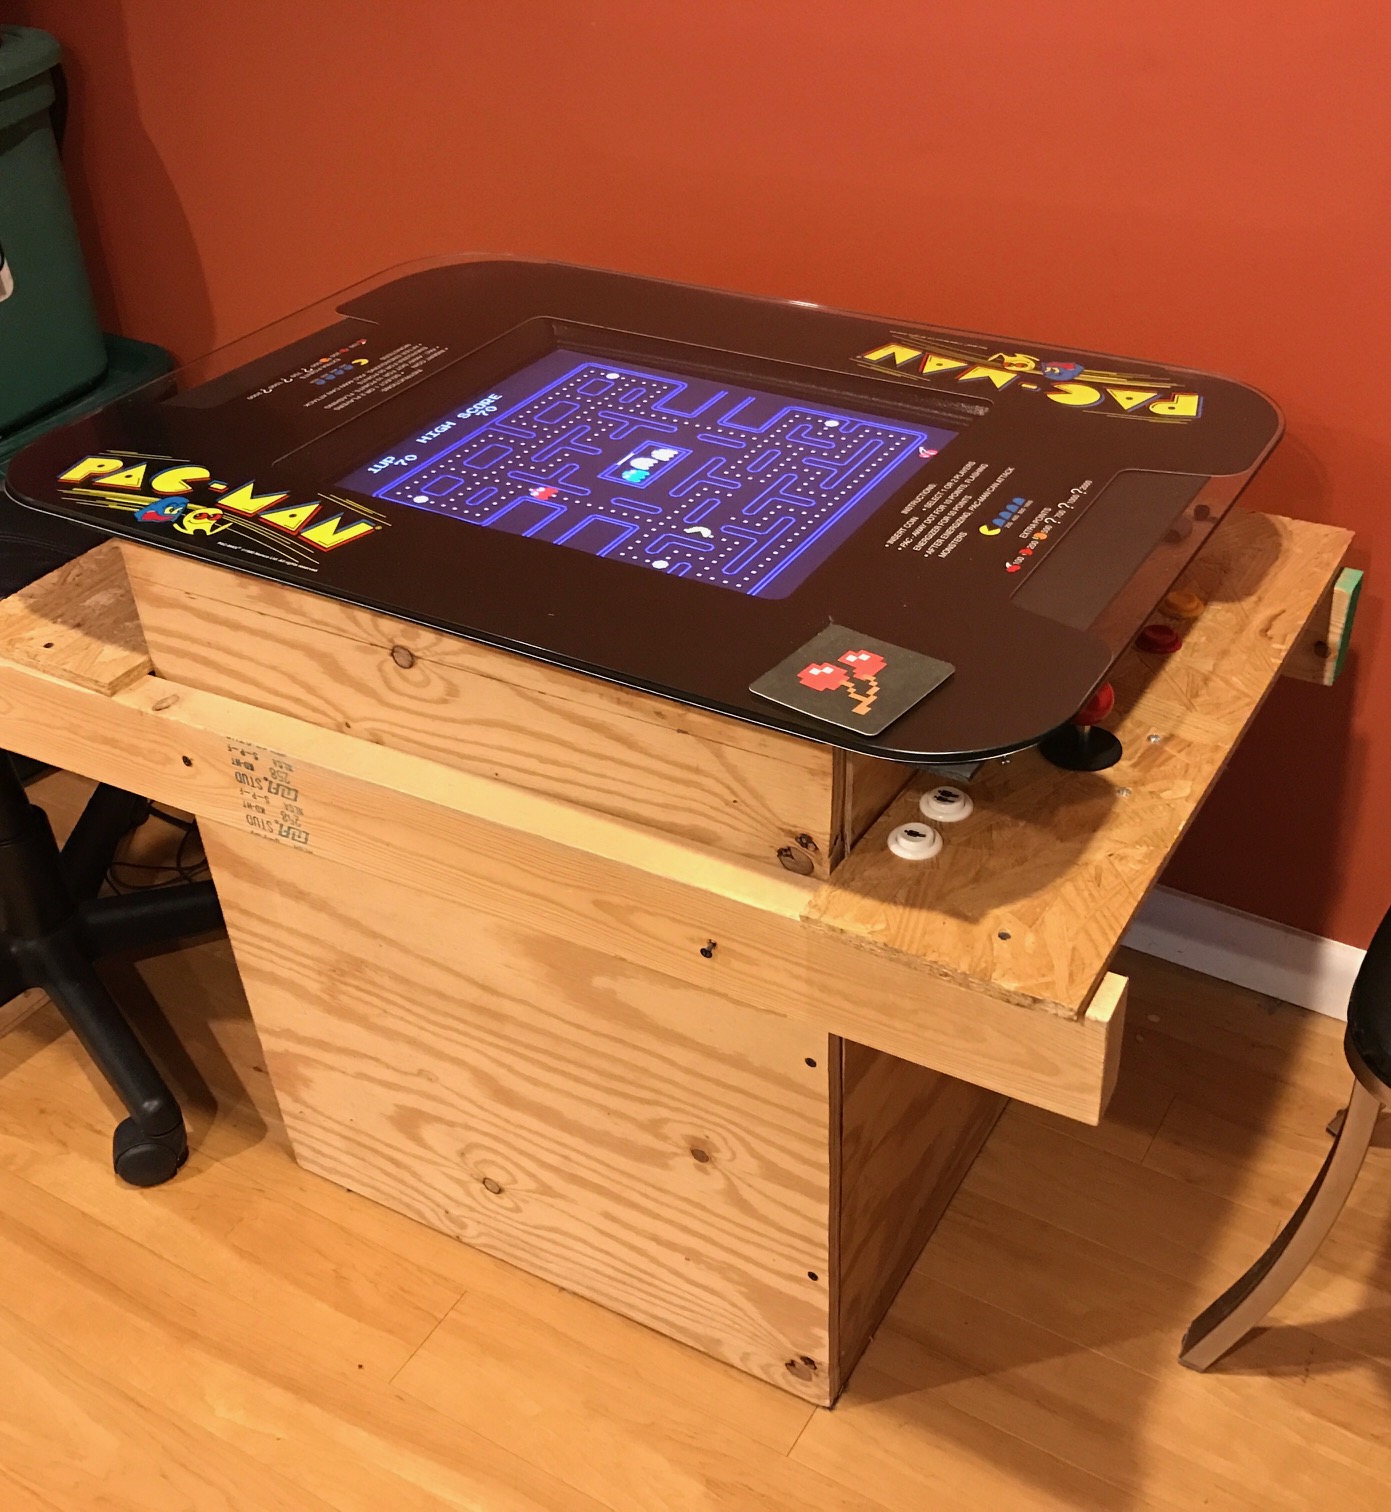
 For the top, I used two sheets of plywood glued together to create a 1″ top, which is the standard height. This is needed for the traditional t-molding but also for the proper height for the clips, which need 1″ at the top plus the height of the glass. This plywood was going to be covered by the top graphic, molding, etc., so it wasn’t a nice grade-just something that was very flat so the two pieces would stay together well. I used wood screws after gluing to ensure a good bond (which I removed prior to cutting out the hole for the monitor and the contours for the design).
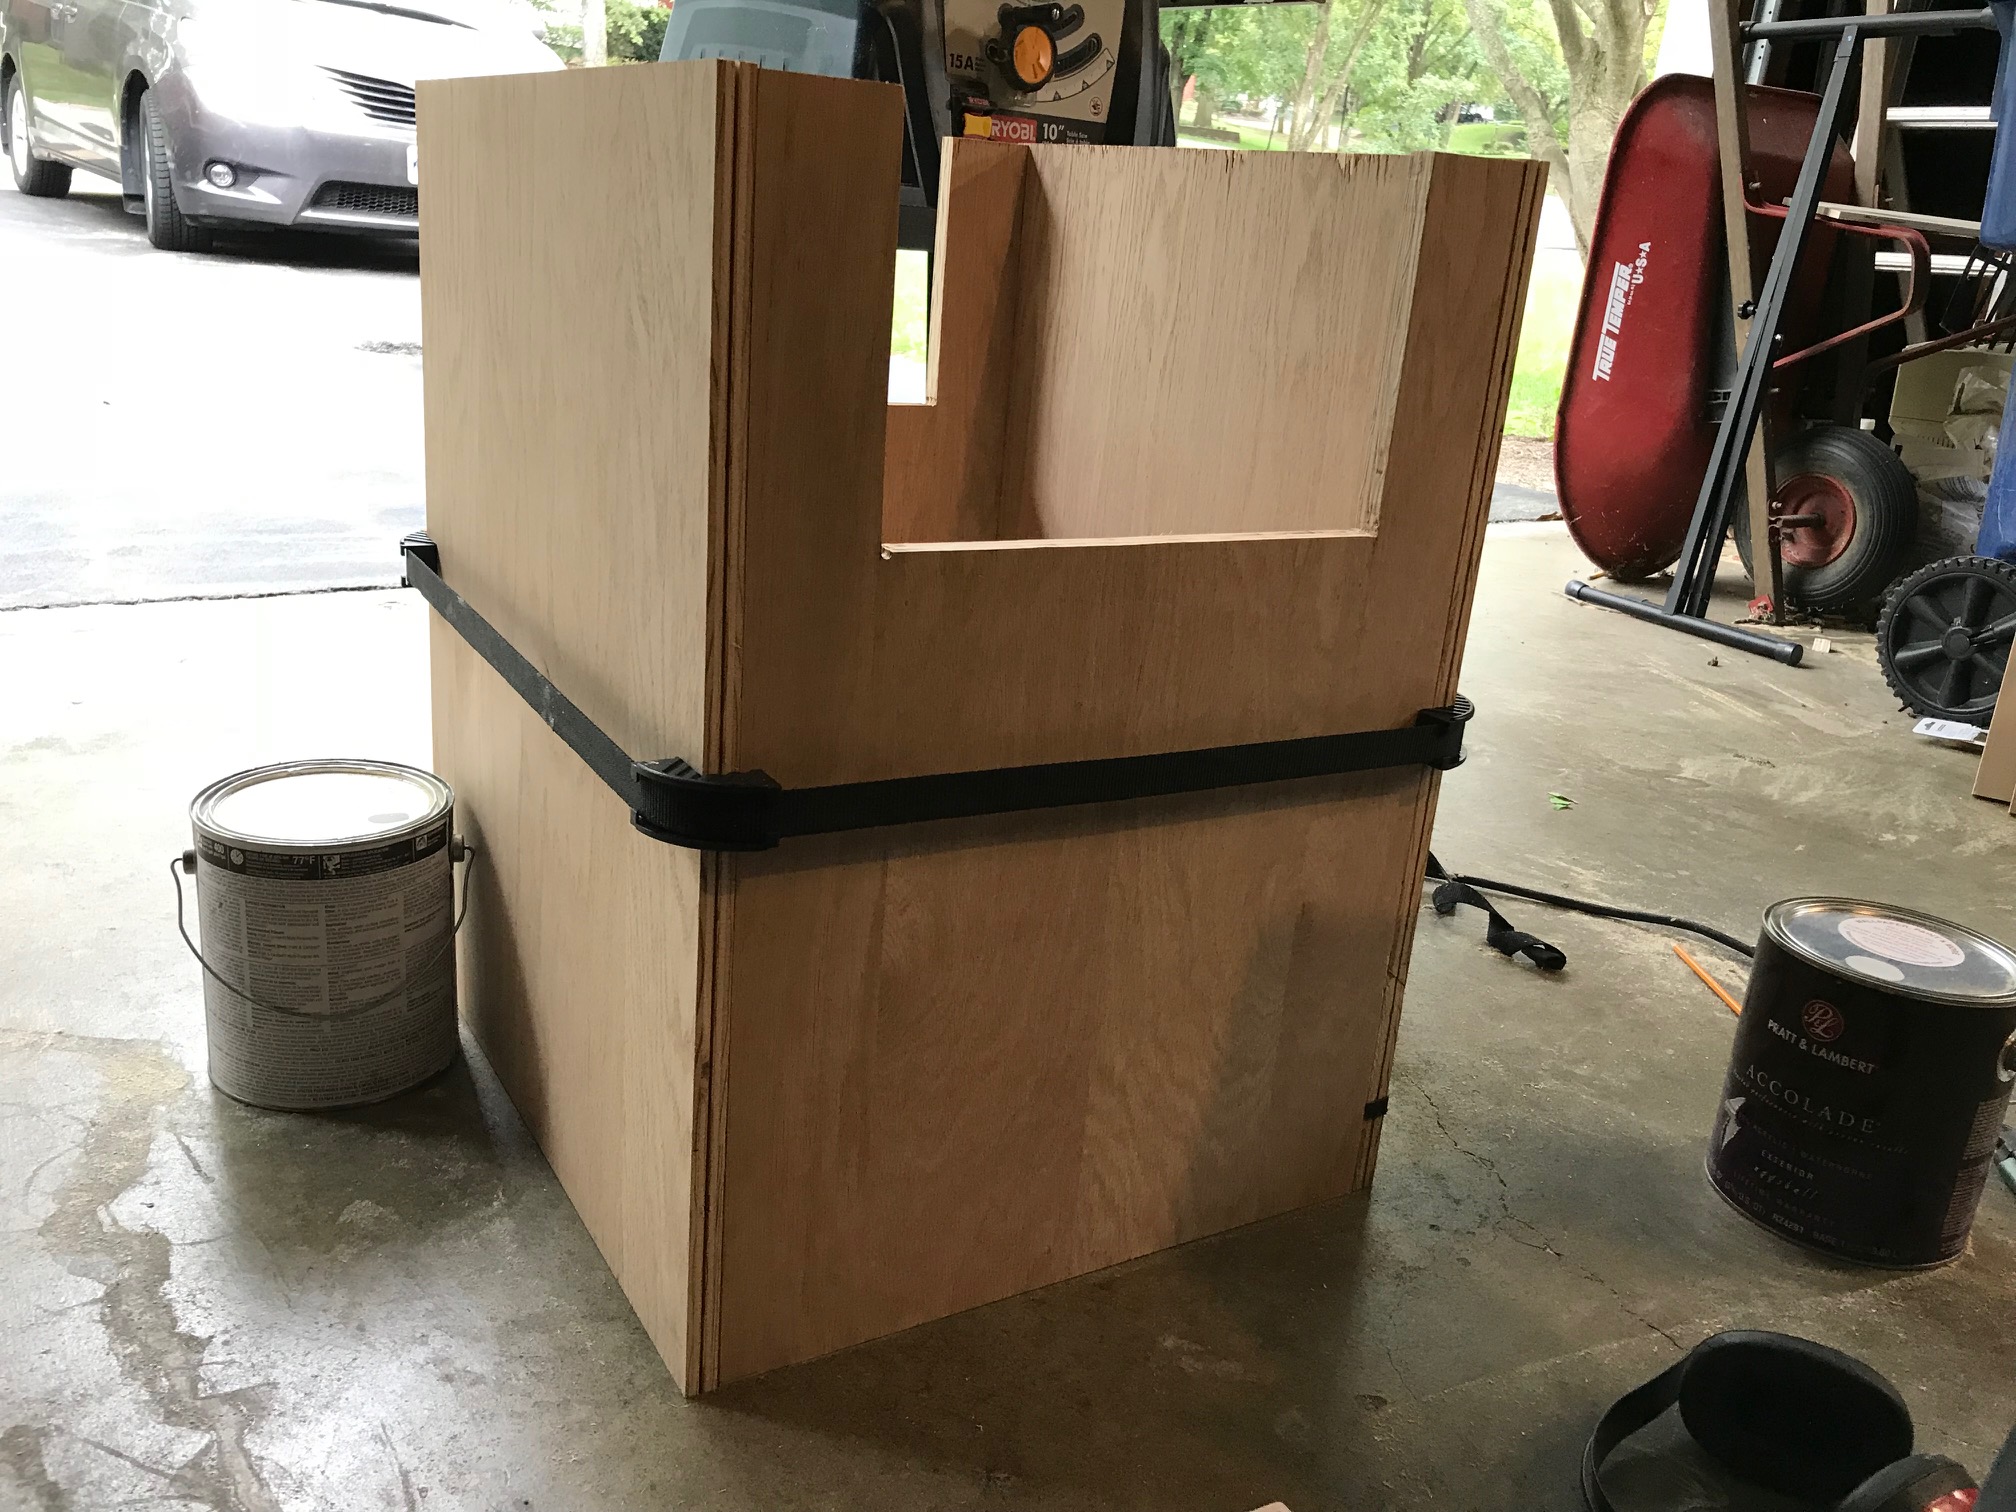 For the base, it’s essentially a box. Normally I’d just wood glue, nail, and clamp, but since I’d be adding t-molding I couldn’t use nails, so I used corner blocks, which helped keep everything square and I could nail in those to the face board and miss the edges.